


This guest post was written by Depot MSA (Instagram) a Miami based professional photographer that is always experimenting. He has had a lot of influence on my work and he is great to collaborate with so I asked him to write a post about his latest project digital Xpan. I hope it interests you as much as it did me.
Digital XPan by Depot MSA
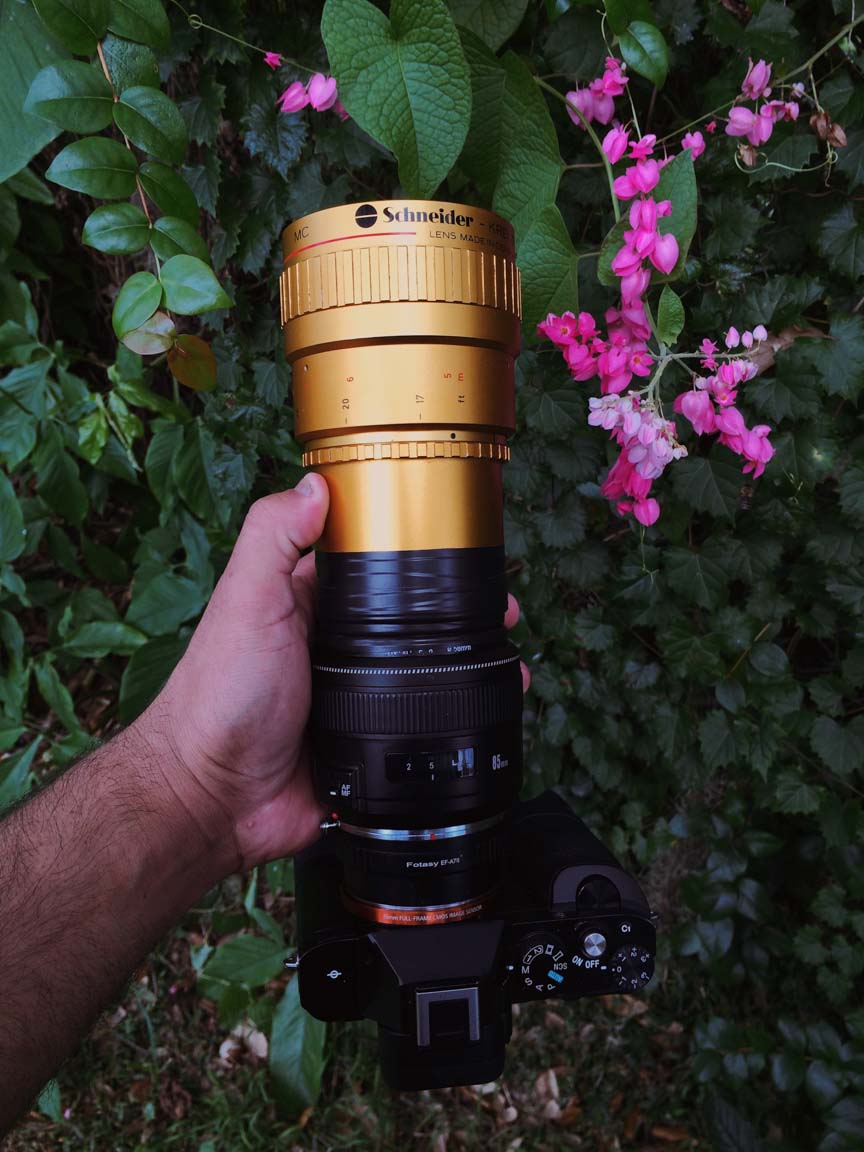
If you’re like me you’ve always wanted a Hasselblad Xpan but you couldn’t justify spending 4 thousand dollars on a film camera. Meet the digital x pan camera, I took a Sony a7 classic and put a cheap Yungnuo 85 mm ef 1.8 lens on it with a foto-diox dummy adapter. I picked up a Schneider Kreuznach Wa Cinelux 2x anamorphic lens off eBay and mounted them together with a homemade clamp and some electrical tape to keep the light leaks out.
Focusing the adapter, First you focus the anamorphic adapter, then the taking lens, it can be quite challenging to get both lenses in focus. The image inside the viewfinder looks squeezed but your subject will come out very clear and in focus, Anamorphic lenses take a normal image and squeeze the sides of the image, so imagine having an 85mm lens field of view that is very compressed and when you un-squeeze the image, it looks like a 28 mm wide-angle image without having the top or Botton edges. Composing in anamorphic can be magical. They’re three ways of doing so. The first is using a using a directors viewfinder which allows you to see exactly how your image will look before shooting, the second is through pre-visualization, you can imagine how your image will look and then un-squeezing the image in post to reveal your image it’s quite magical and lastly the Monitor, Most anamorphic shooters use monitors or cameras than can unsqueeze the image allowing the user to see exactly what their getting.
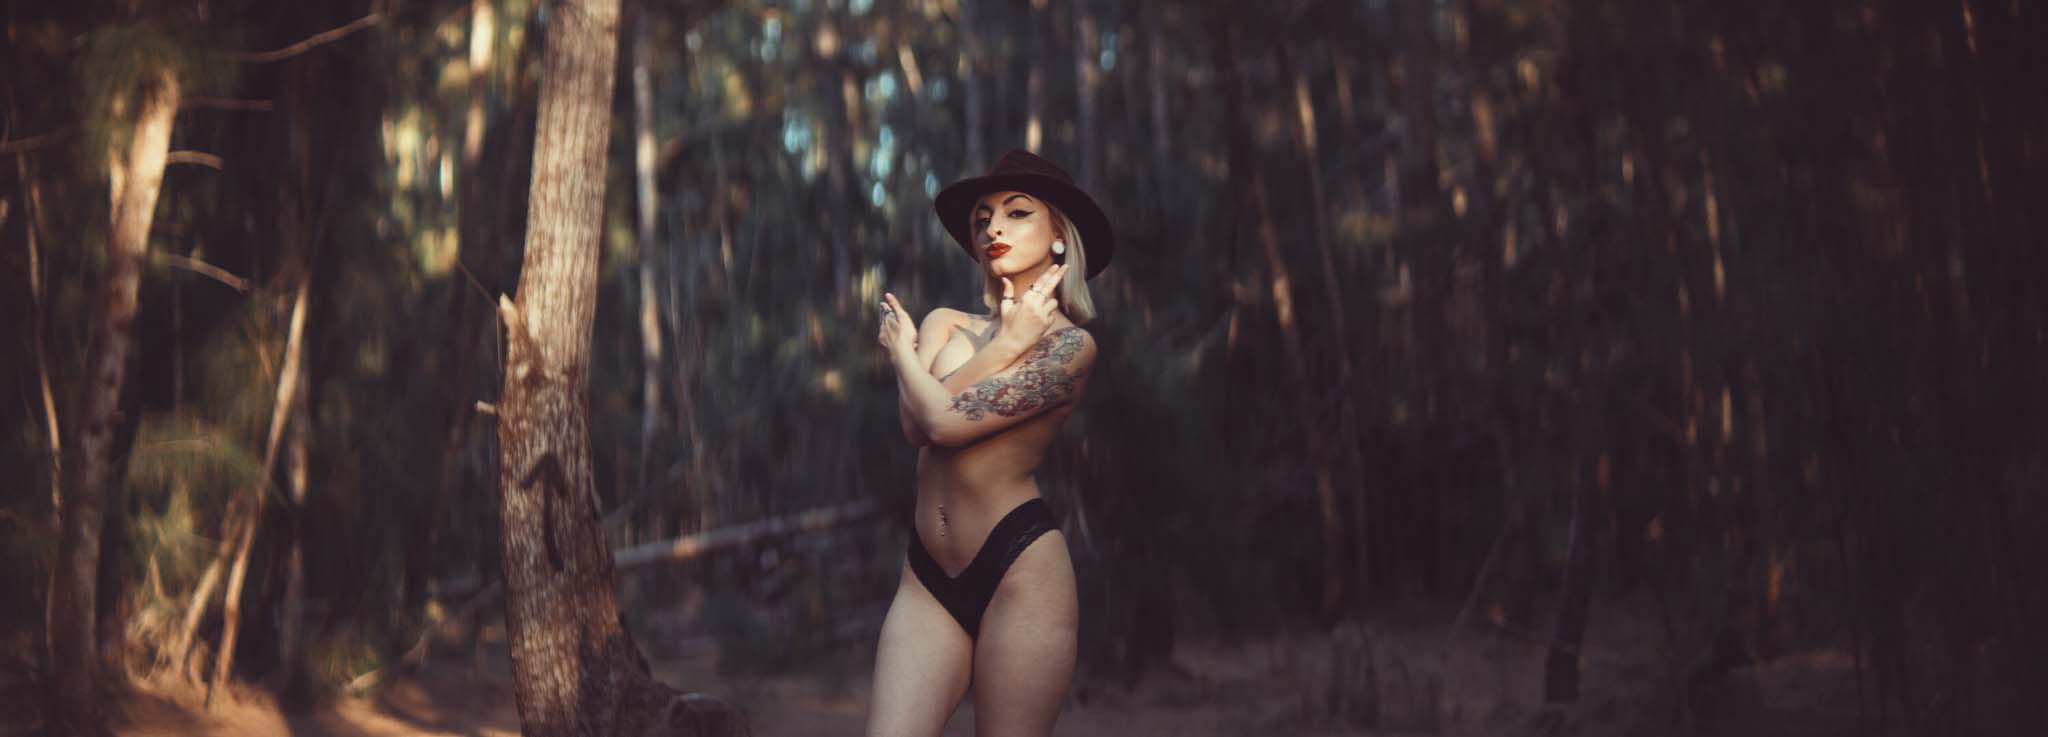
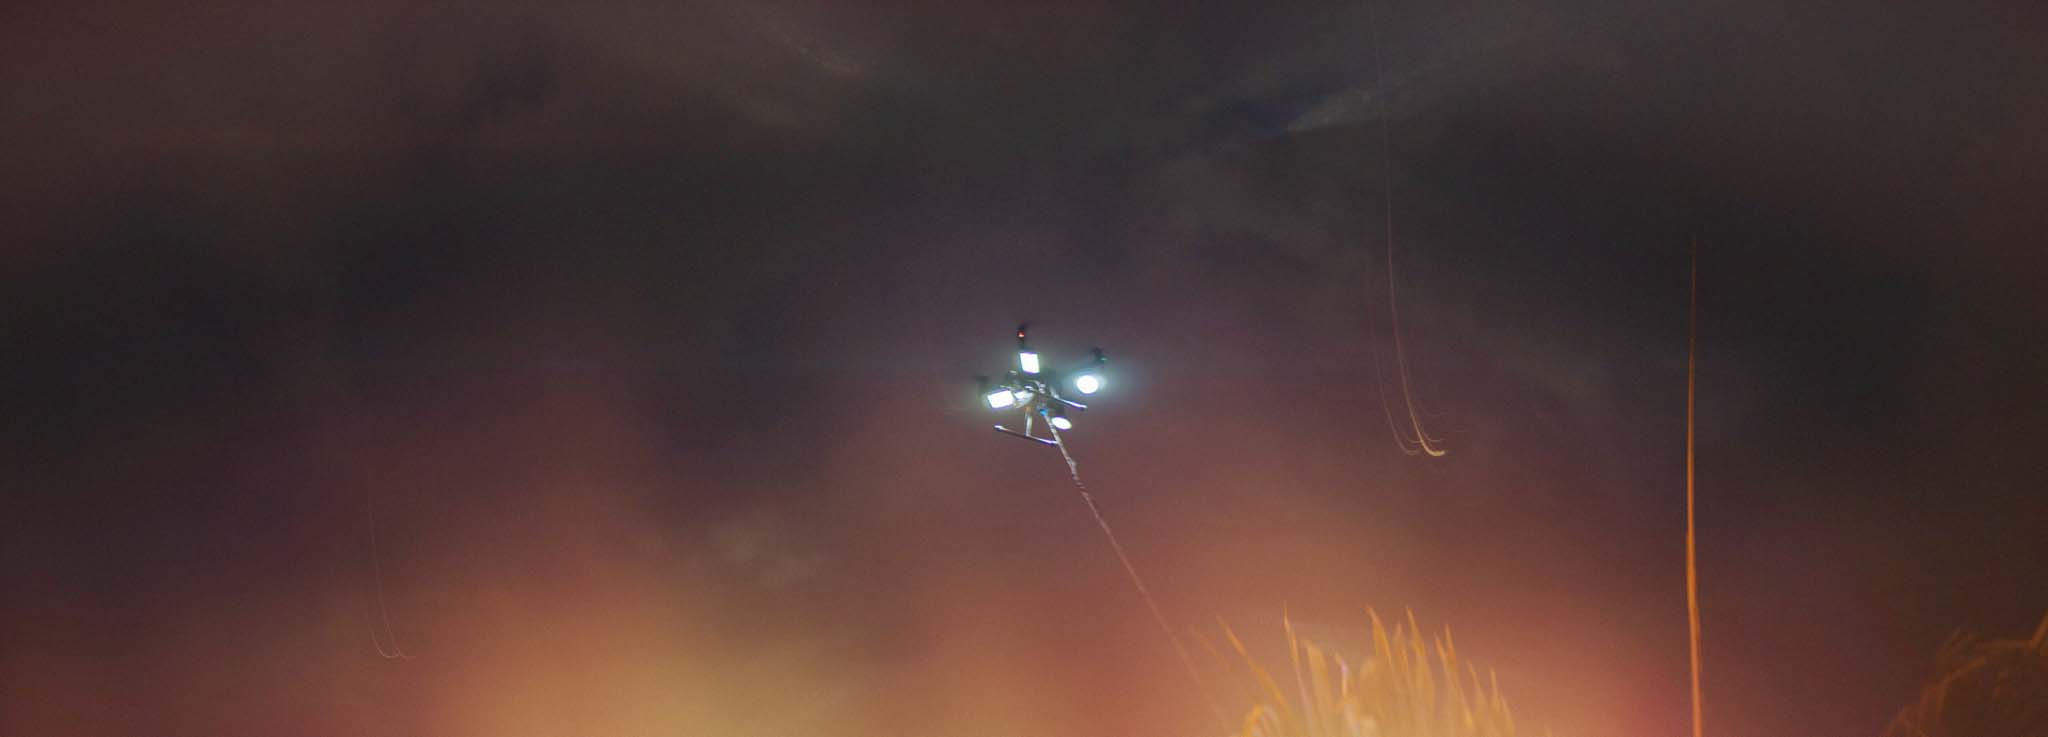

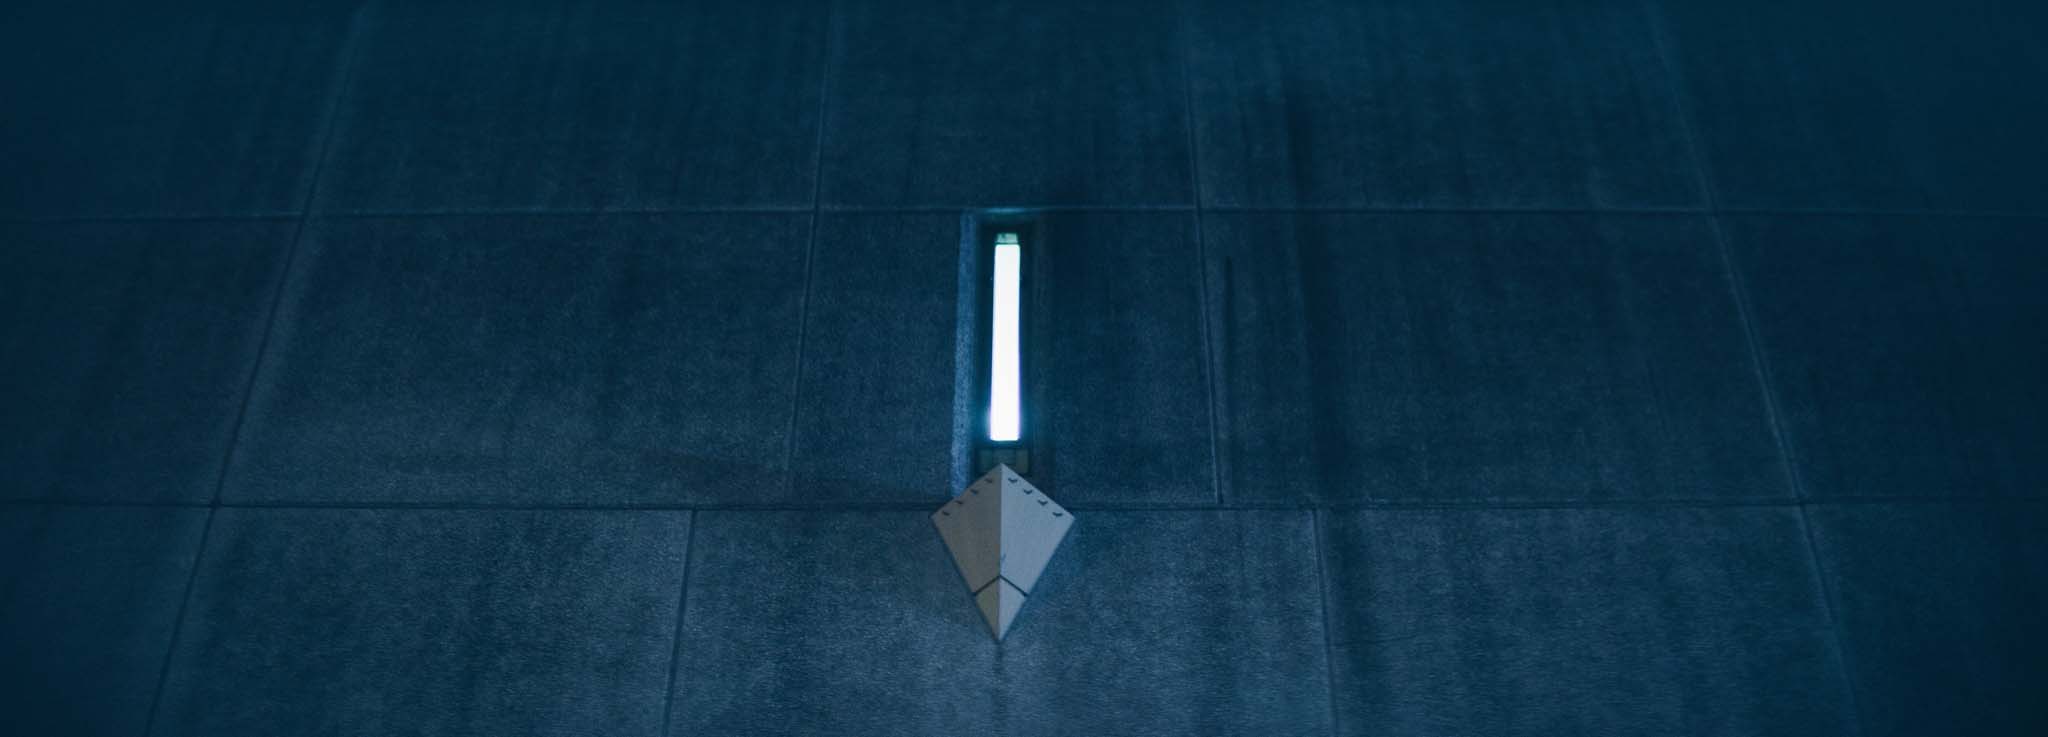
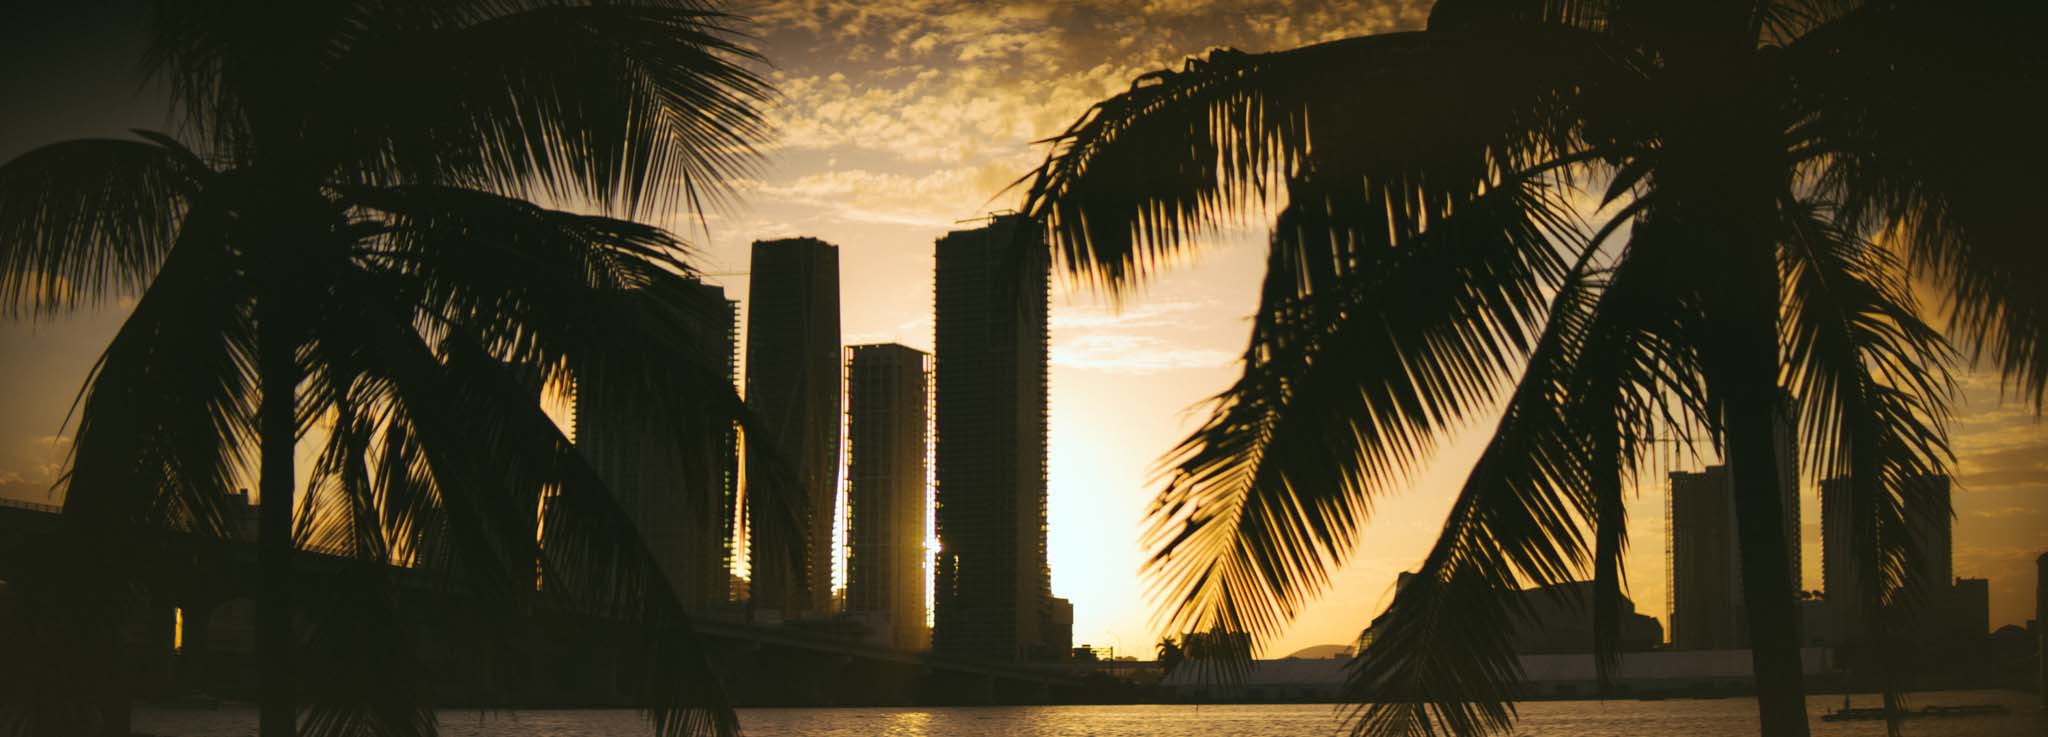
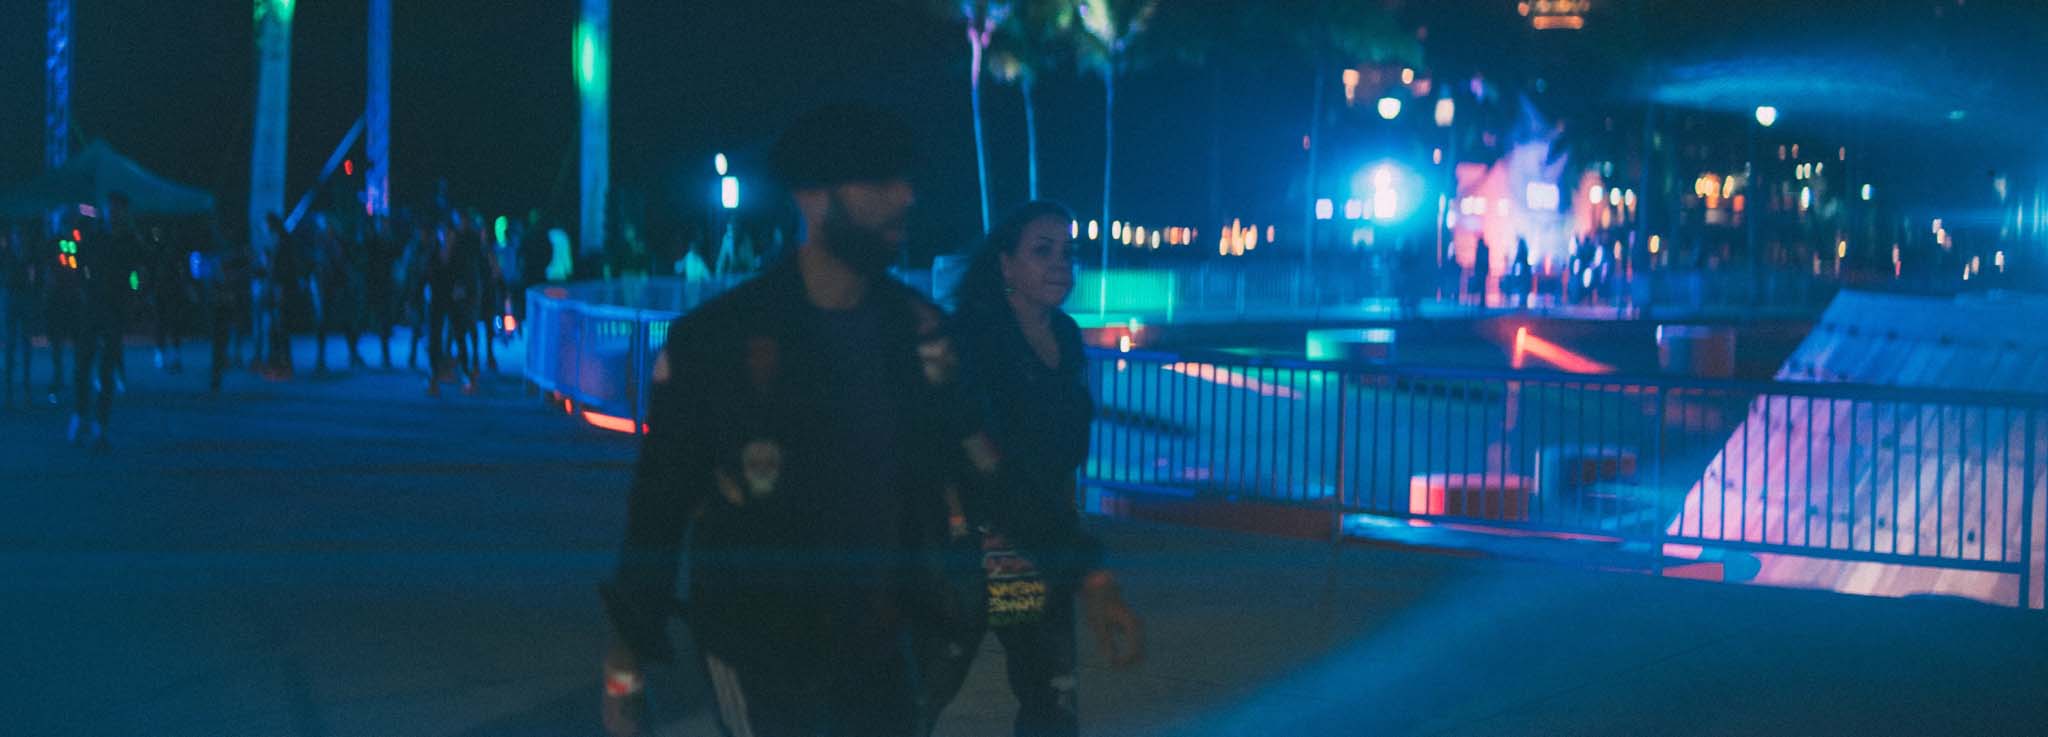
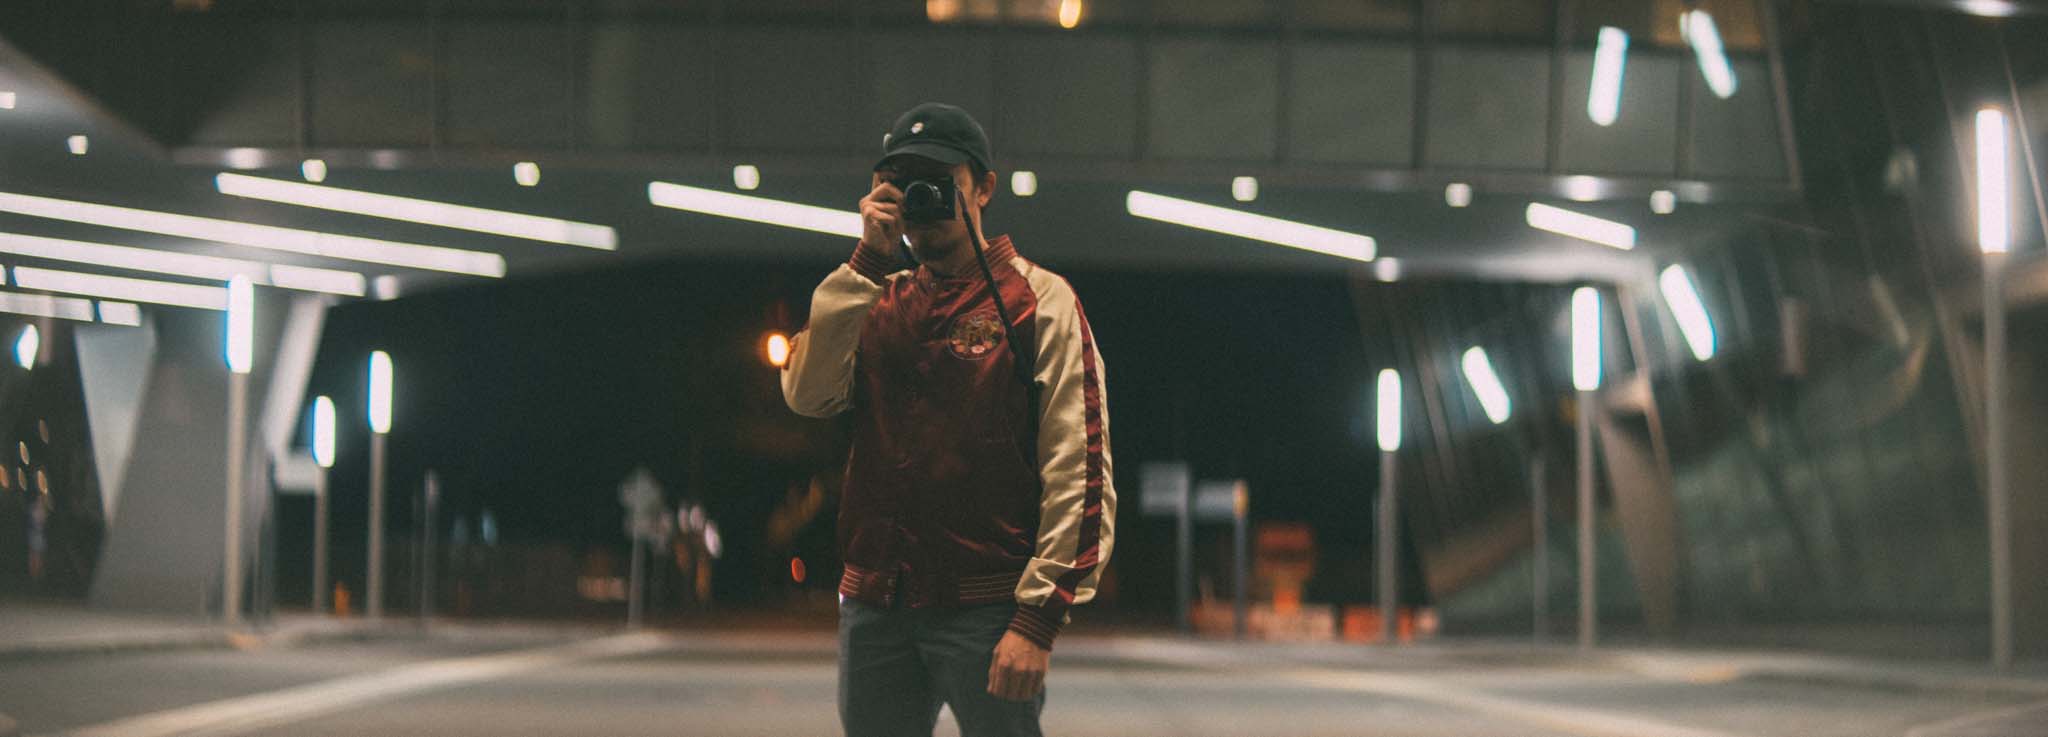
Bokeh, flaring and streaks are the three main reasons people love that anamorphic look, Oval stretched bokeh is my favorite, the out of focus elements are very pleasing to the eye, for me the oval bokeh is so dreamy, on this particular lens the bokeh oval shapes lean left and right, the flares are crazy blooms of lights that have a c shape appearance and the signature blue streak flare is very subtle in this lens not adding to much distraction to the images but just enough. Each anamorphic lens will have different characteristics of lens refractions and bokeh rendition so its fun to keep testing and figuring out which aesthetic you like the best also using different taking lens will change the look of your images so experiment away.
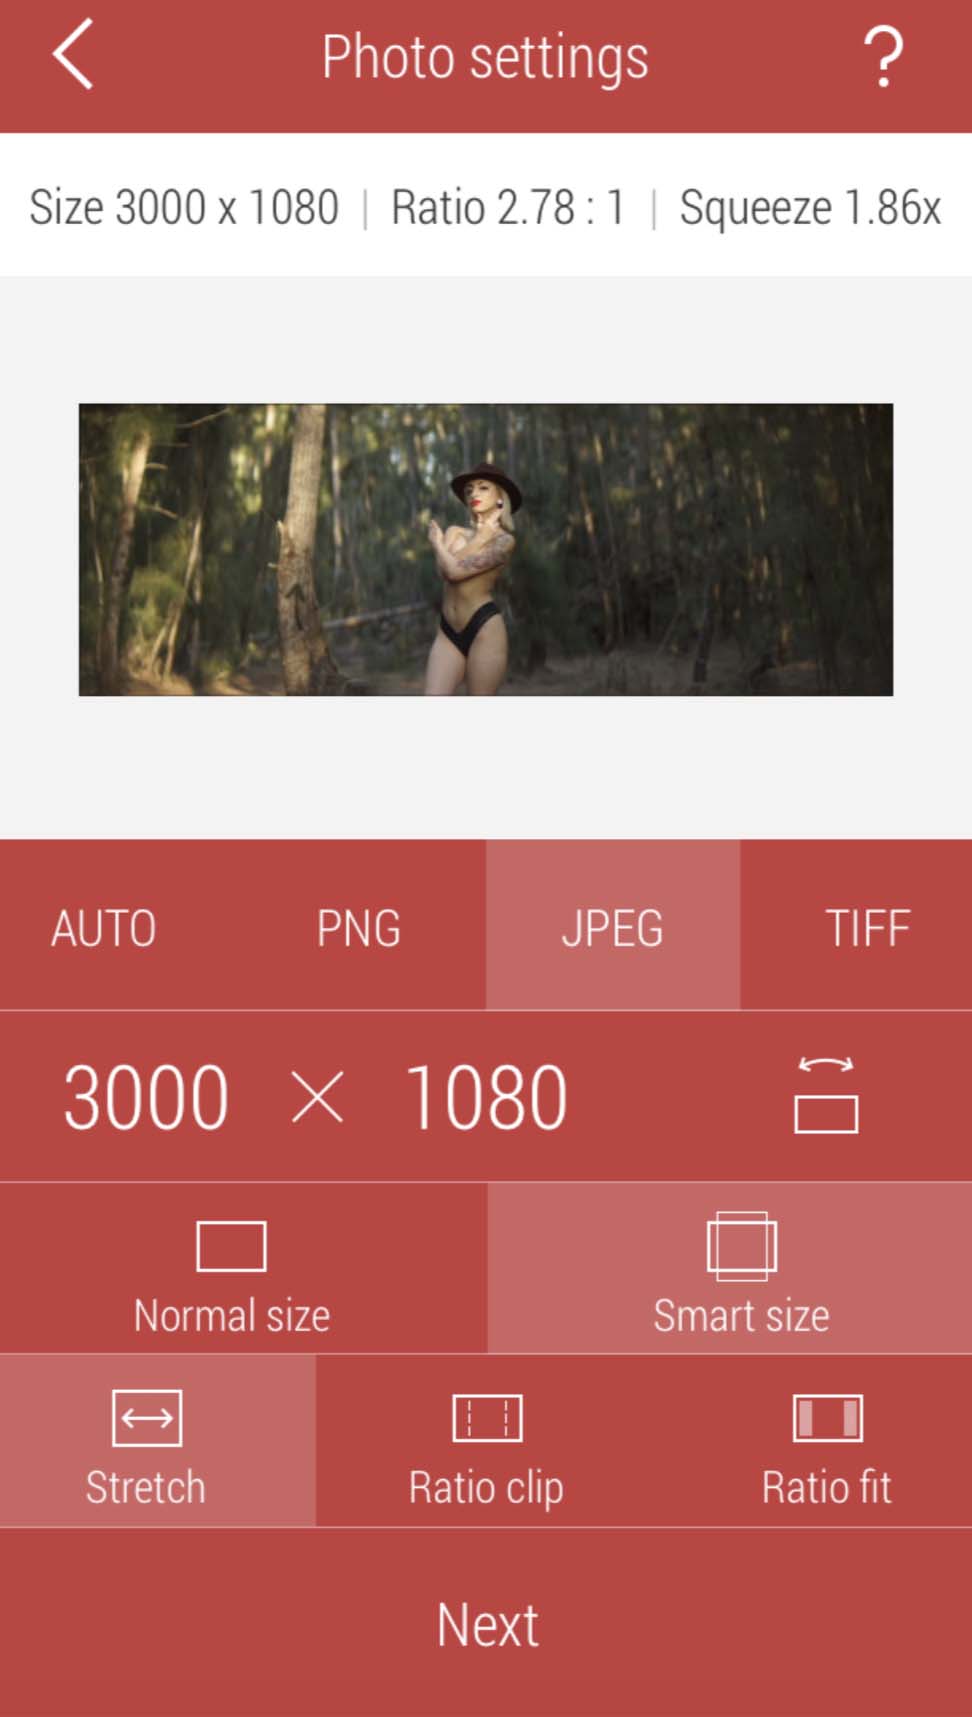
De-squeezing the image was kind of tough finding out the info for photos, not video but what I discovered through my process was this app called de-squeeze I send the image from the camera and use the app to unsqueezed the image. The sweet spot I found for my images is as follows 3000 x 1080 I use the apps smart size set on and stretch on in jpeg. Then after I unsqueezed the image, I use Lightroom mobile to edit the photo colors. My workflow also works for de-squeezing the image and sending it over from the phone to Lightroom cc for more editing. I’ve tried using Davinci Resolve to de-squeeze but this method is much faster for me.
Follow SonyAddict on Facebook, Twitter, Instagram, and YouTube